November 2009

Dressing Up A Bottle Of Wine To Give As A Gift
I cut the sleeve off of a thrift store sweater and sewed the bottom closed to create a gift bag to hold wine…

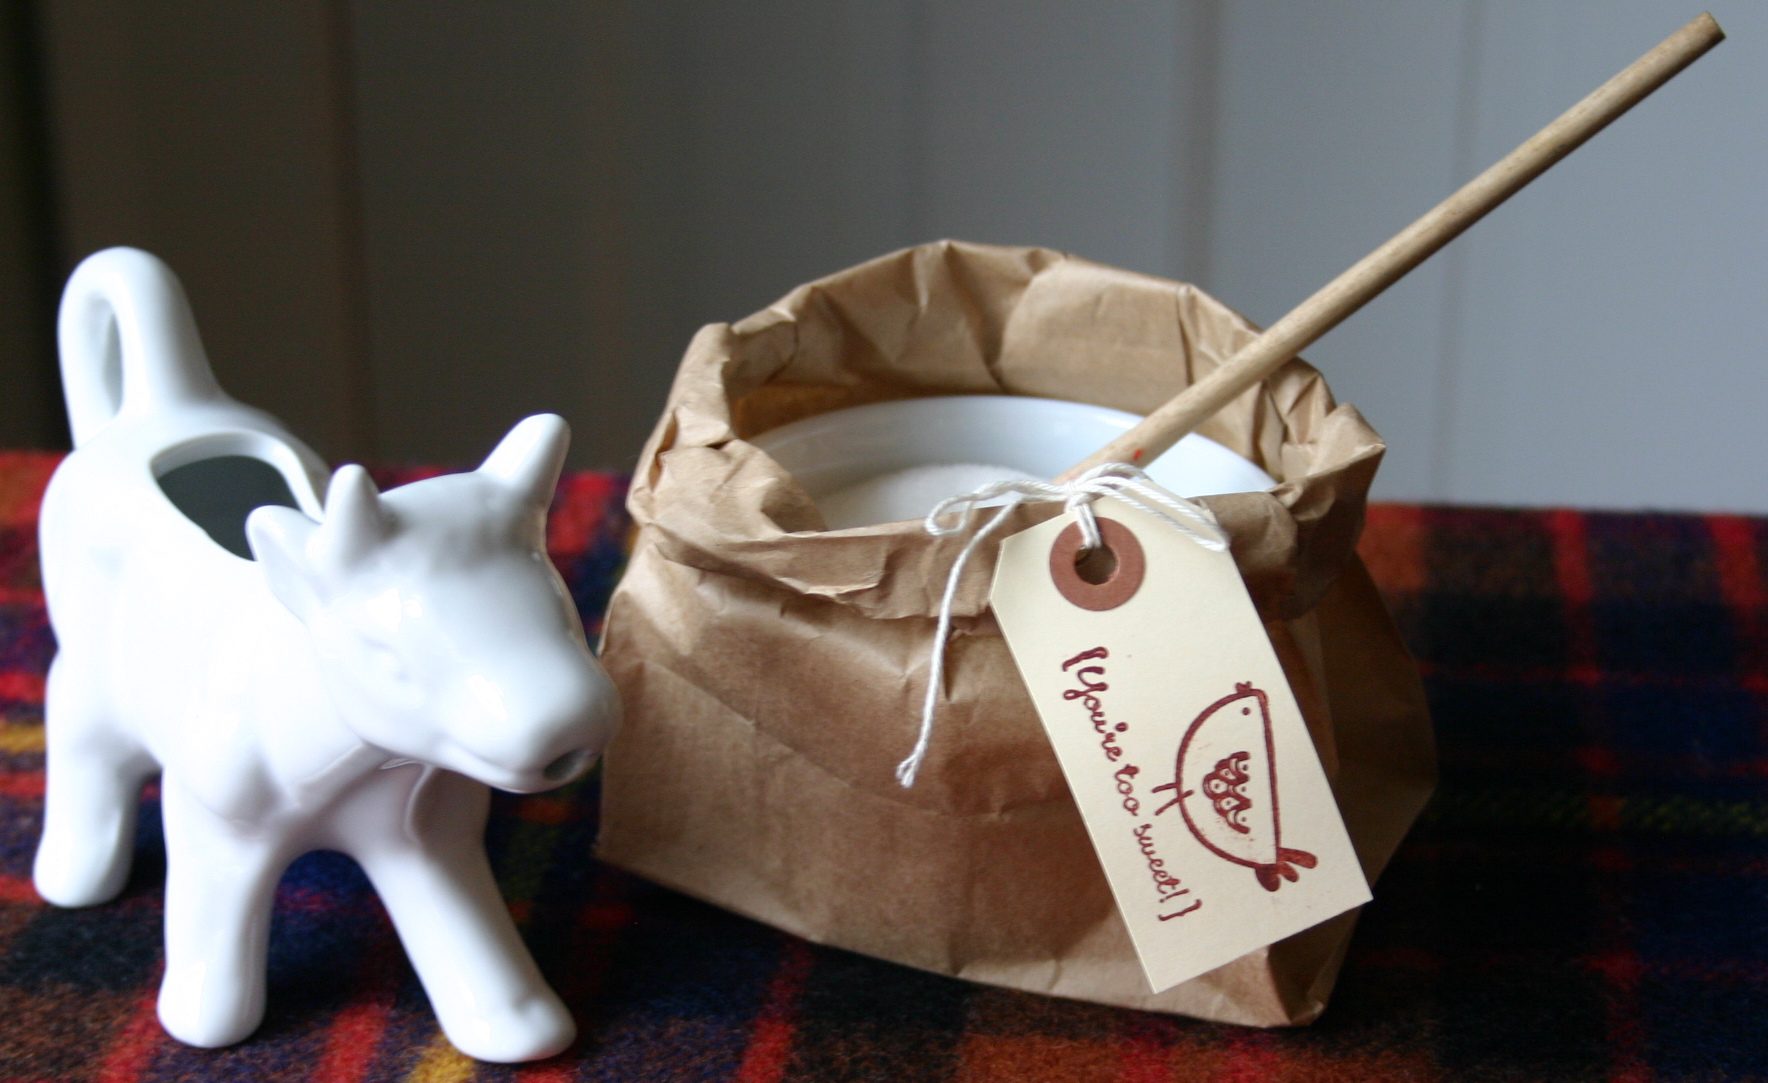
Small Burlap Tree Bags
Burlap is inexpensive and can be purchased at most fabric stores. A 7″x14″ strip of burlap is folded in half, sewn along each side and turned inside out to create a small rustic bag…
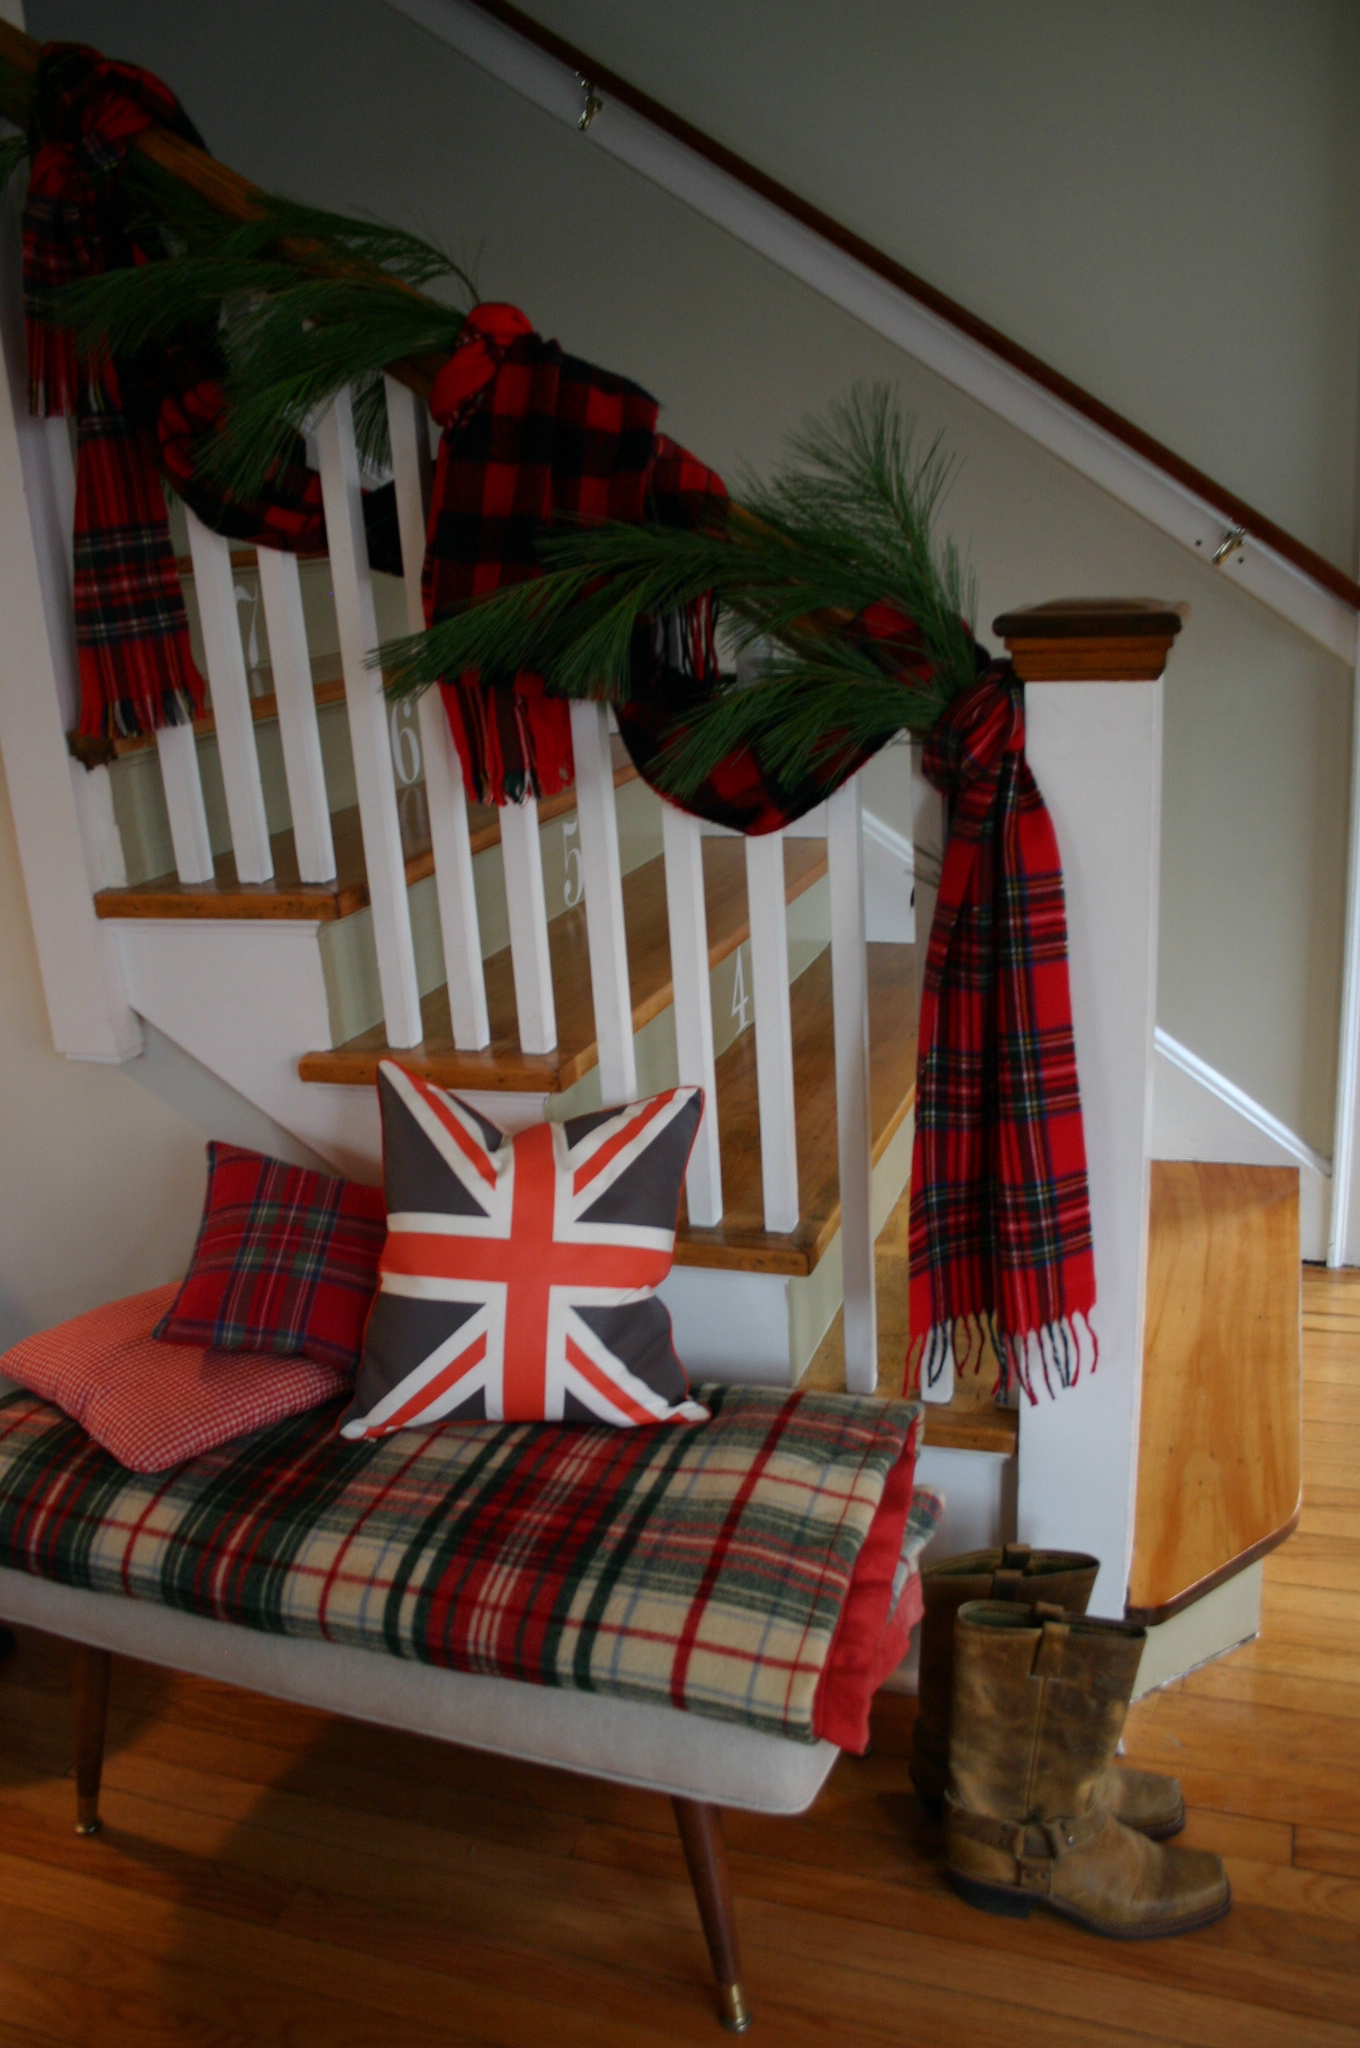
Scarf Garland
5 tartan scarves, picked up at a resale shop, are tied and draped around my banister to create an easy holiday look…
Lunch Bag Bowls
When I entertain during the holiday season, I use every tray, platter and serving bowl I own. So – sometimes I come up short and have to think fast. Here’s a trick that transforms a boring bowl into something a little more interesting. Give it a try…

Sweater Vase
I cut off the cuff of an old sweater, felted it and slipped it over a jar to create a more interesting vase.
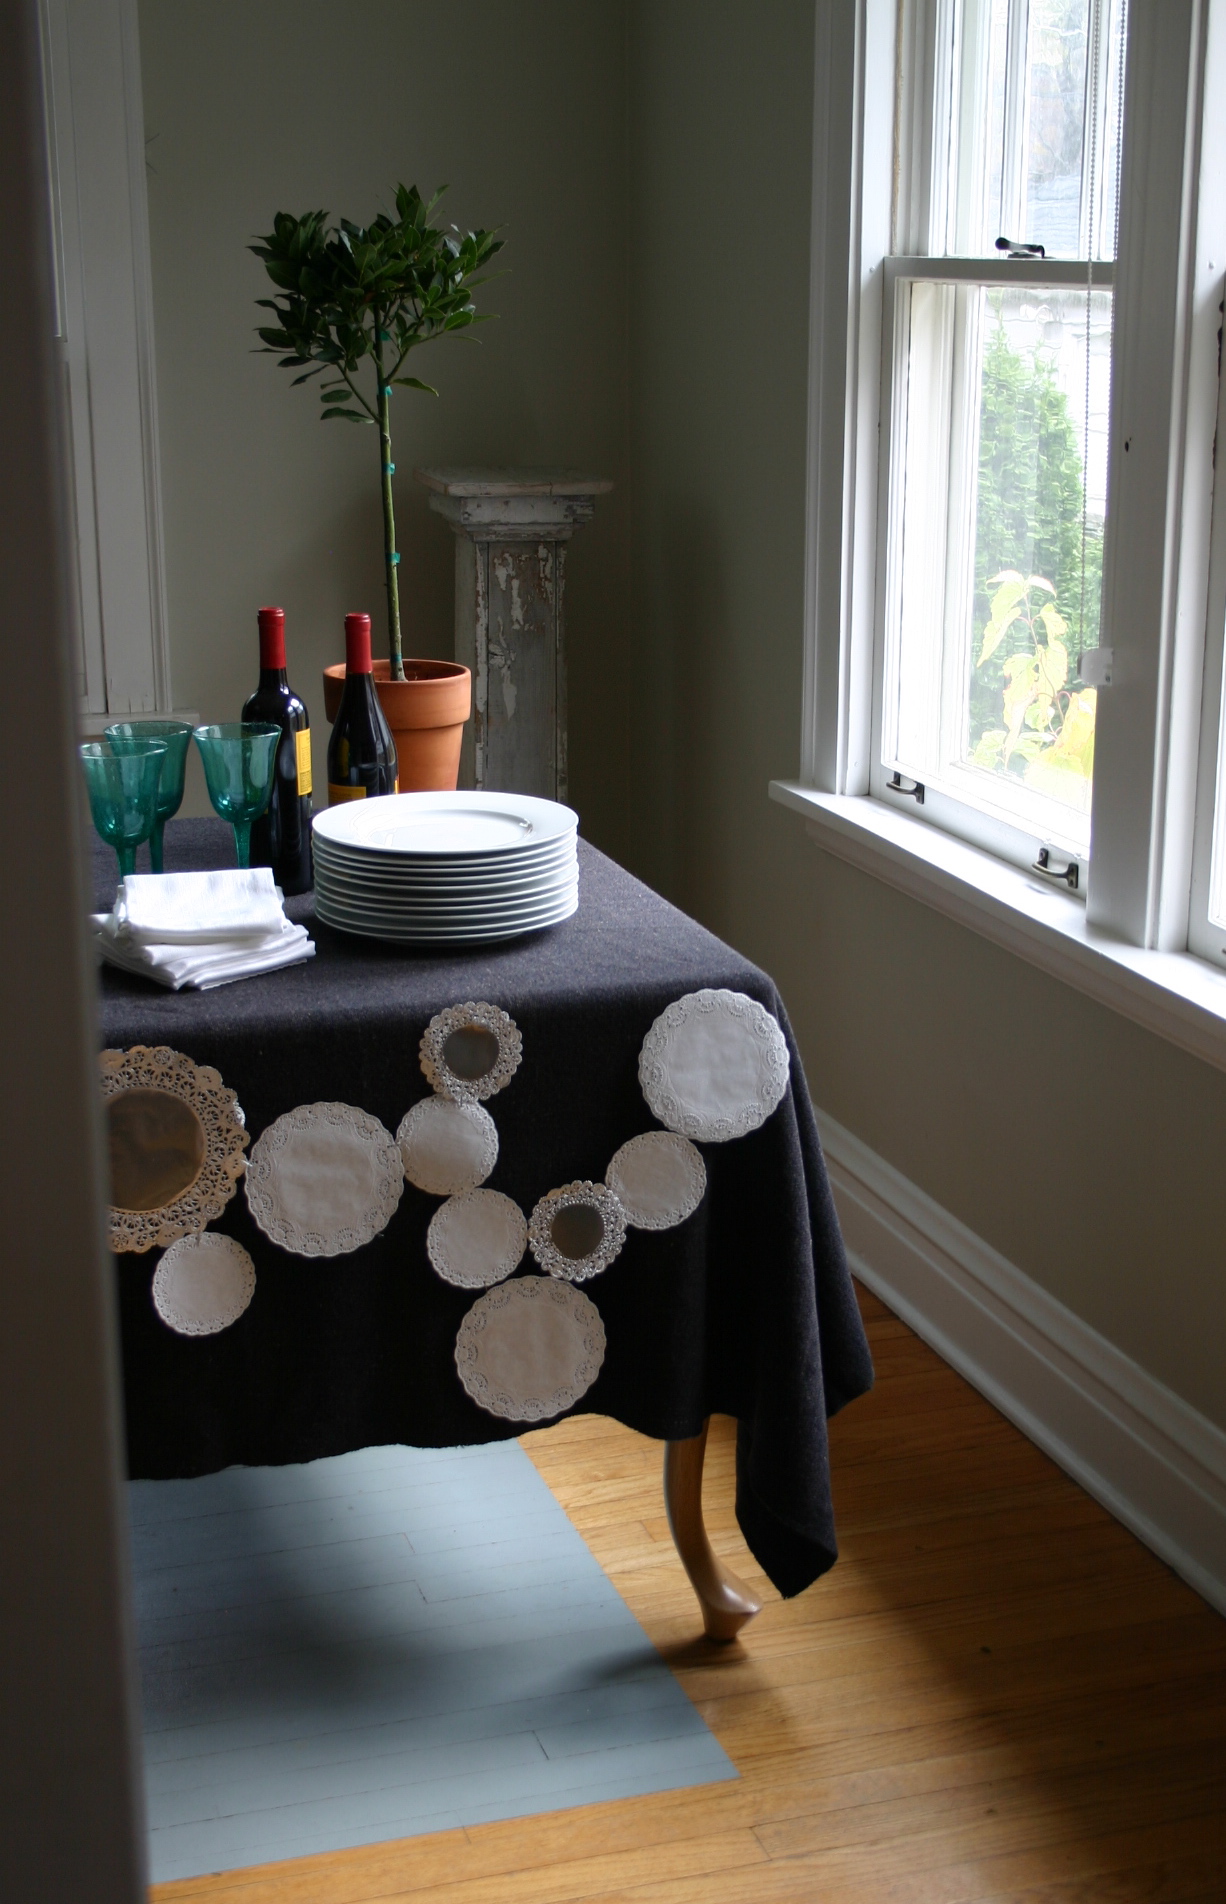
Doily Table Cover
Silver and white paper doilies of varying sizes are stapled together to create a lace-like tabletop cover for a winter dinner.
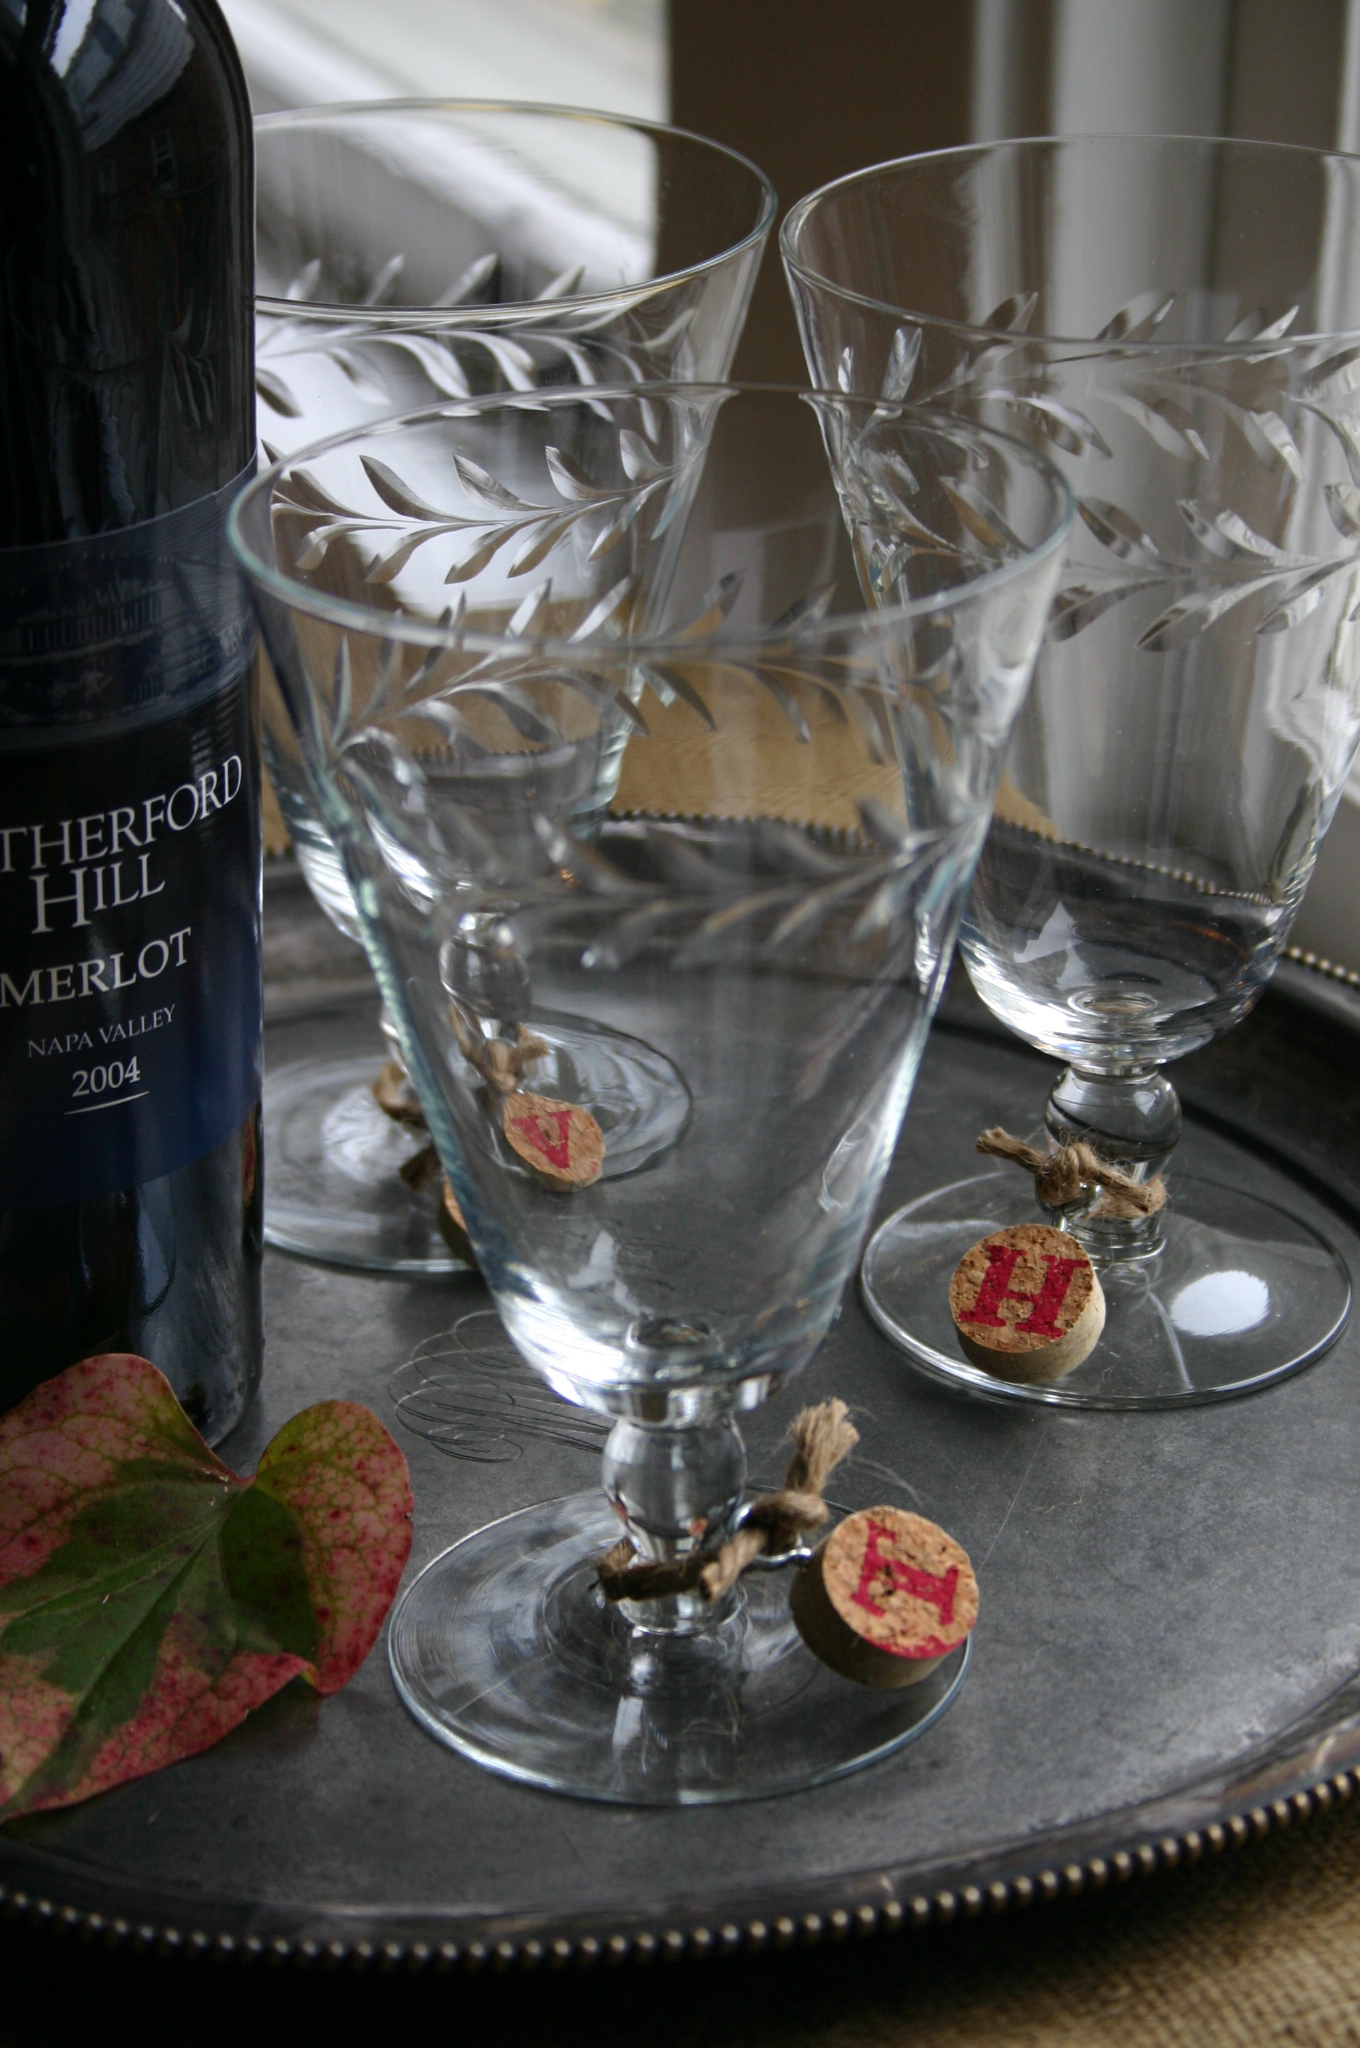
Set The Table and The Mood With Small Surprises
Take a good look around your house and find second uses for ordinary things – your table will have more character and you won’t spend a penny…