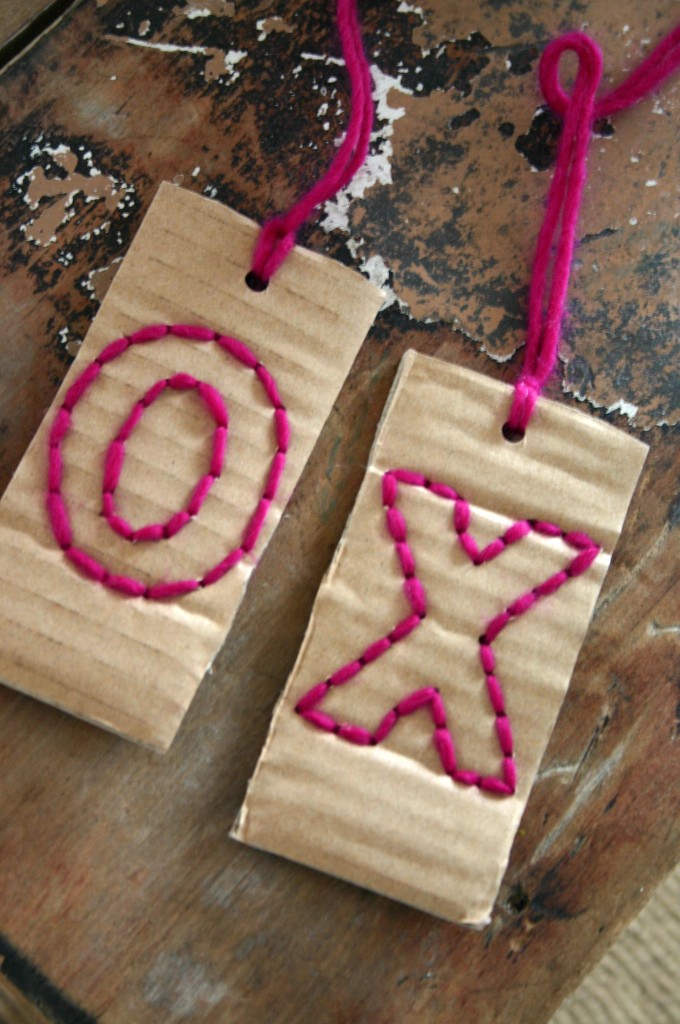
The arrival of my husband's new bass amp has provided me with an enormous corrugated box to work with. I've been hooked on embroidery these days - so I couldn't resist using the cardboard to stitch up some gift tags for Valentine's Day.


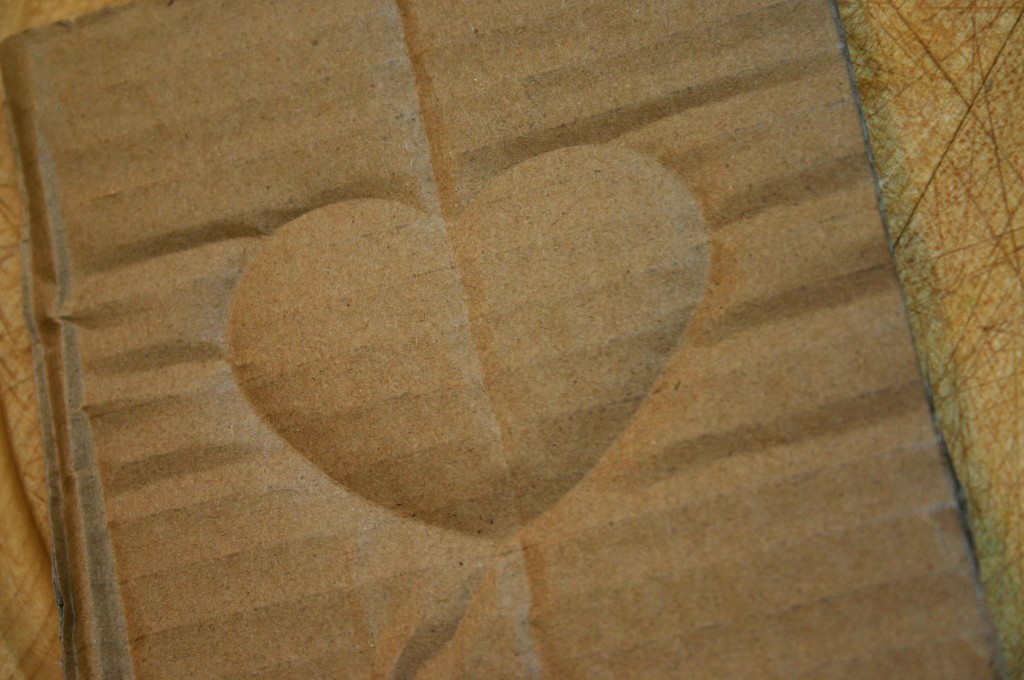
I cut out a piece of cardboard and pressed a cookie cutter into it to leave an impression that I could work from. You could also trace with a pencil - but I find this is an easier technique to use with kids and there are no pencil marks to erace.


Using a blunt needle, pierce holes into your shape. I spaced mine about 1/4" apart.

Thread your needle with yarn and - using a back stitch - fill in your design.

This is a great way to teach your kids some basic stitches.

mollie
February 3, 2011 at 1:41 pm
I’m not sure why it took me so long to find you blog, but I’ve been thoroughly enjoying the things you’re doing. Lovely!
camilla
February 3, 2011 at 2:00 pm
Mollie – Thanks for commenting – I checked out your site and LOVE it! So glad to have made a connection with you – take care, Camilla
Bonnie@WhatAboutPie
February 4, 2011 at 3:31 pm
Positively adorable! One of the reasons I love your ideas so much, is that a lot of them are done with things I can find around my house. It would be so fun to make these tags!
Pat
February 5, 2011 at 10:48 pm
Love it. Especially, excited about the suggestion to pass on the art of sewing to my daughter! Can’t wait to sit down and do this with her.
Molly
February 6, 2011 at 9:11 pm
Ah! Once again, so clever! I love the embroidery kick you’ve been on. So many fun ideas for Valentine’s Day 🙂 The yarn candles are lovely as well!
camilla
February 7, 2011 at 7:11 am
Thanks Molly! I hope you are staying warm in your part of the world – we are buried in snow! 🙂 Take Care and thanks for commenting, Camilla
Rachel
February 7, 2011 at 2:41 pm
Those are soooo pretty! I love the way the pink looks on the cardboard. Thanks so much for this, I’ll be linking.
elaine
February 8, 2011 at 10:31 am
Love these!! and your blog, will be trying this idea out with my boys (hope u don’t mind i have linked to this tutorial from my blog today)
Elaine
x
Heather
February 8, 2011 at 10:07 pm
So simple & pretty! Your technique for making the pattern is clever, too!
craftqueen6
February 8, 2011 at 10:20 pm
I did something similar about 15 years ago…I had just moved at Christmas time and I had the brilliant idea of cutting up the moving boxes into postcard sized pieces and I used Christmas themed stamps, silver embossing powder and a hair dryer to make my Christmas cards.
Mel M
February 11, 2011 at 9:55 pm
These are so clever & gorgeous. Your blog is a treasure trove! Thanks for the inspiration.
Pingback
fee@chippernelly
February 14, 2011 at 4:45 pm
I have well and truly surfed tonight and find myself here – how lovely it is!
I can’t wait to try these tags – embroidery is my latest skill to learn (gave up on crochet after a mere two hours – how rubbish!)
I love the picture with the holes in the cardboard – it brought back memories of the card sewing kits I had as a child with all the holes ready made.
Thanks for sharing your ideas,
fee x
Pingback
Pingback
Jenni
May 15, 2011 at 5:41 pm
This is a wonderful idea! I love it! TFS!
Jenni
Scrappincrafter
Sally
October 20, 2012 at 6:19 am
I just discovered your blog from Pinterest and have pinned about a dozen of your creative, adorable, doable crafts. You are very talented. Thank you for sharing your talent.