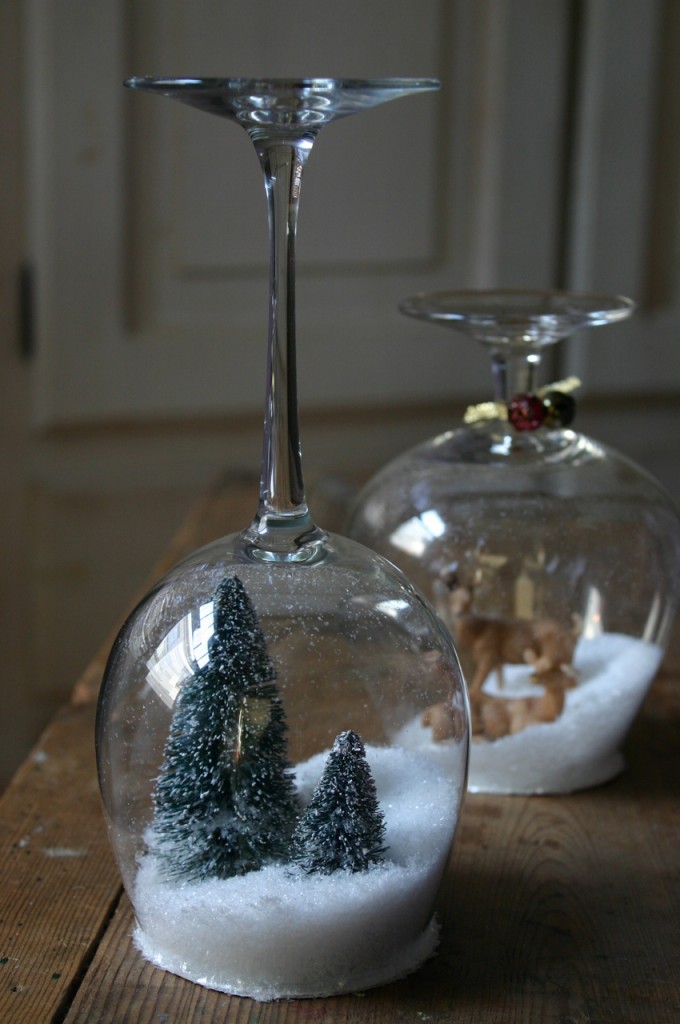
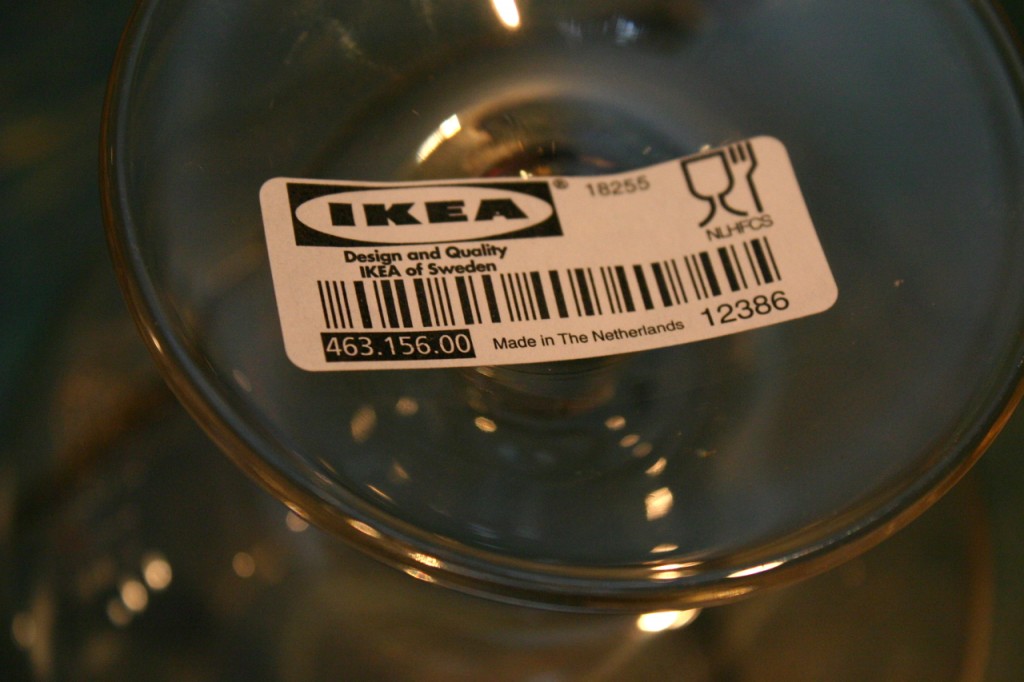
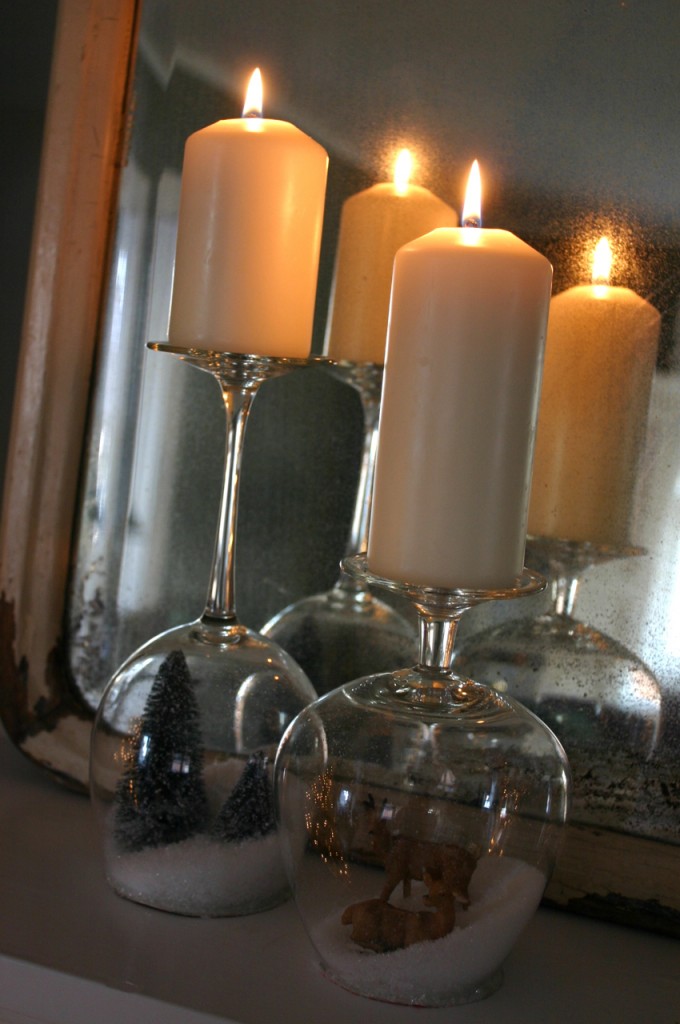
Inexpensive stemware from IKEA are easily converted into interesting snow globes…
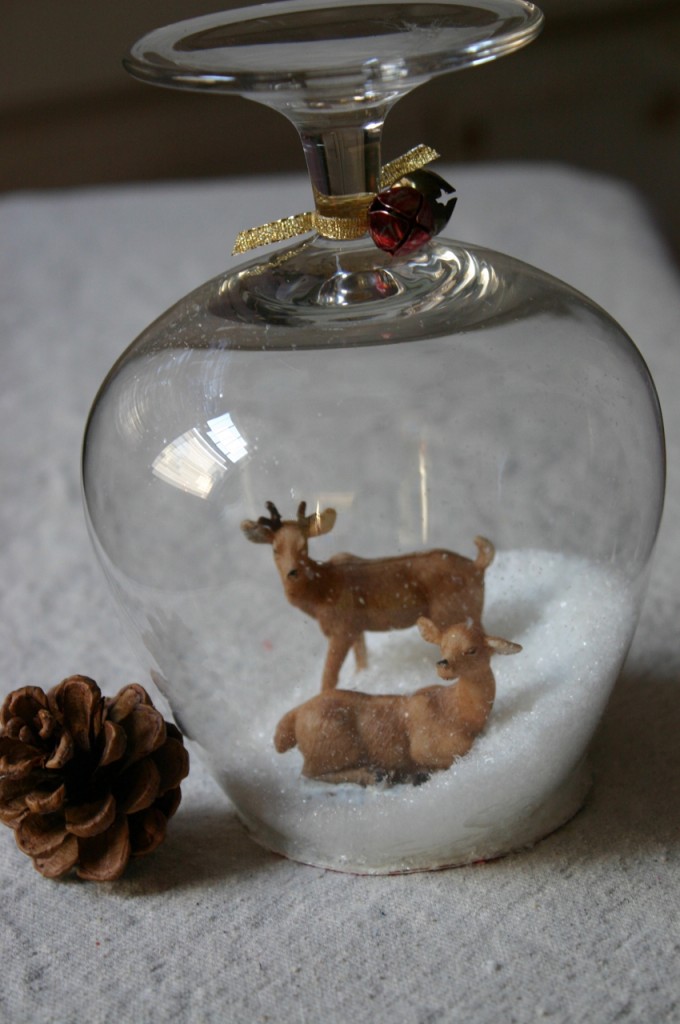
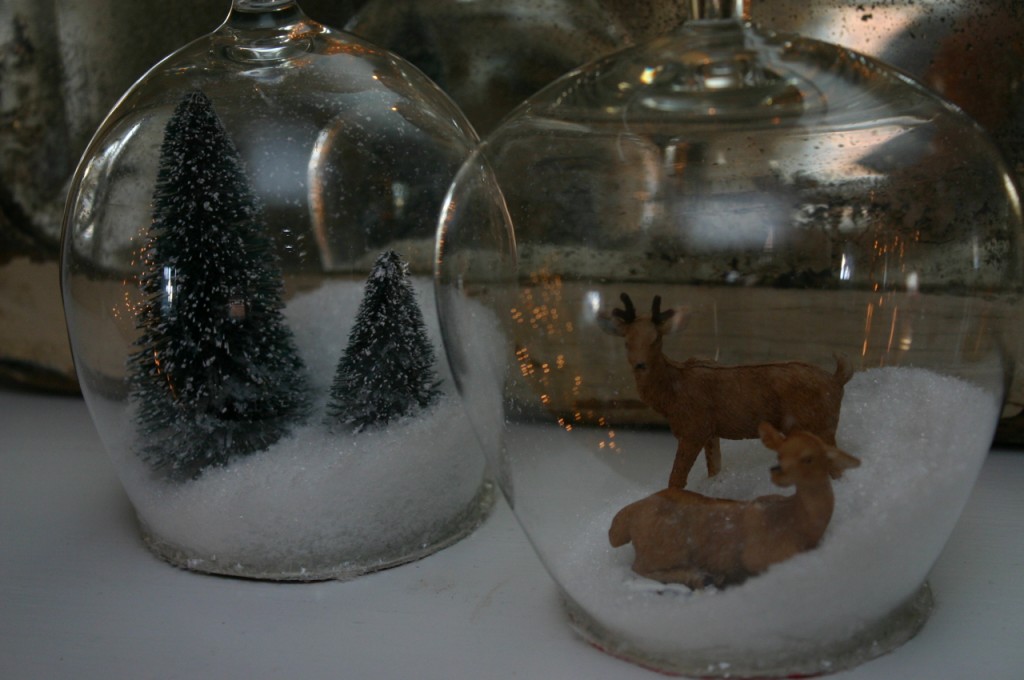
Small plastic reindeer (picked up at Michaels for a few dollars) are caught in a winter scene under glass.
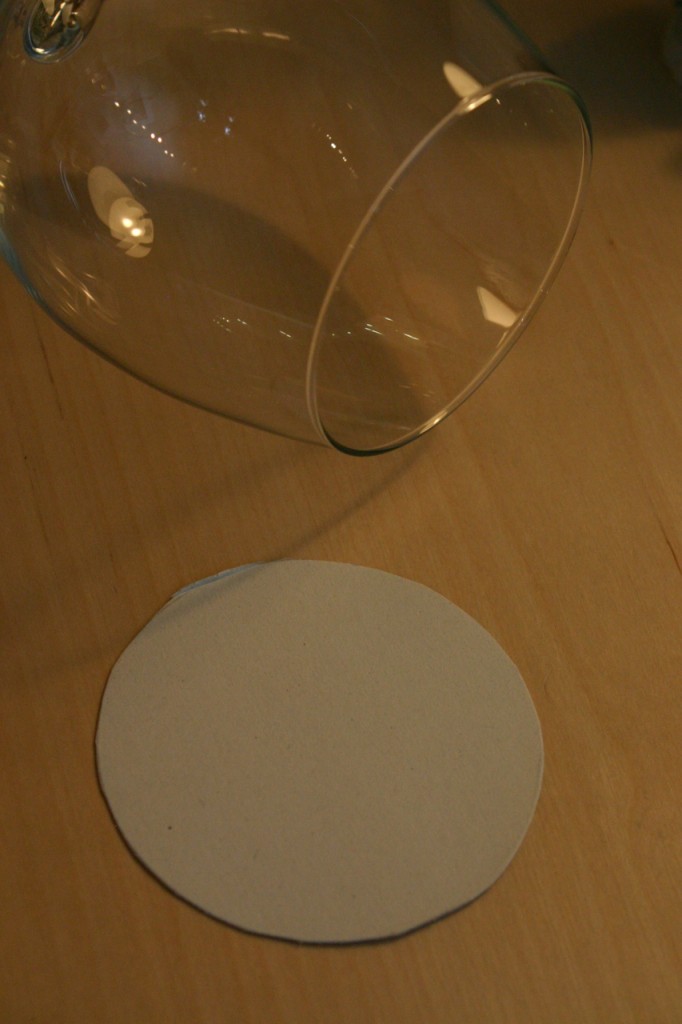
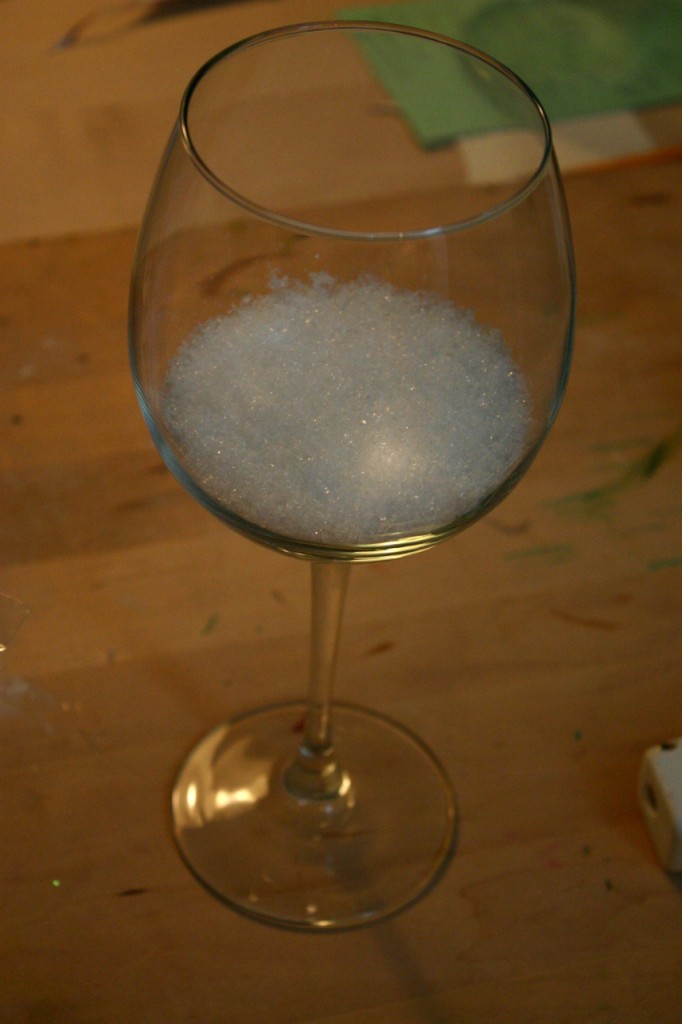
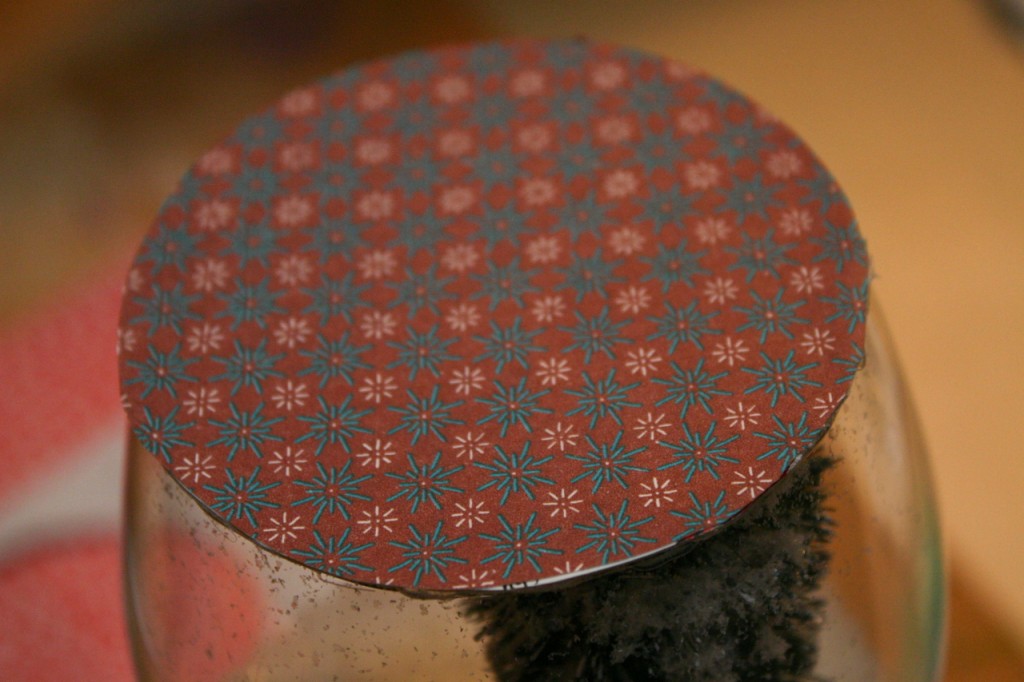
Place glass upside down onto cardboard and trace the circumference of the opening. I used cardboard from a cracker box - but you could also use a card too.
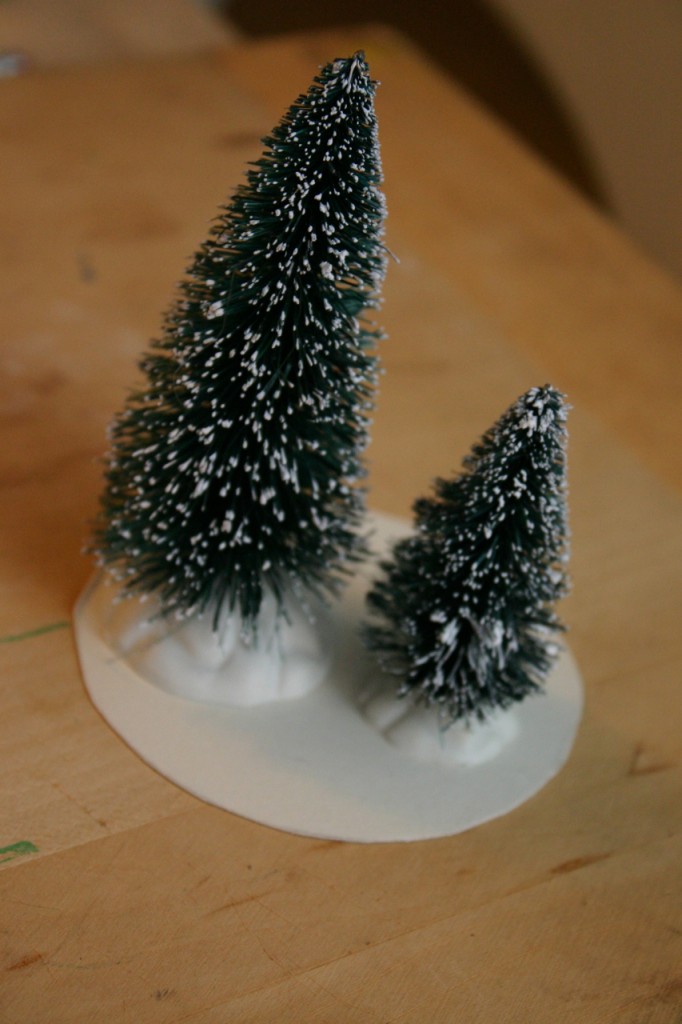
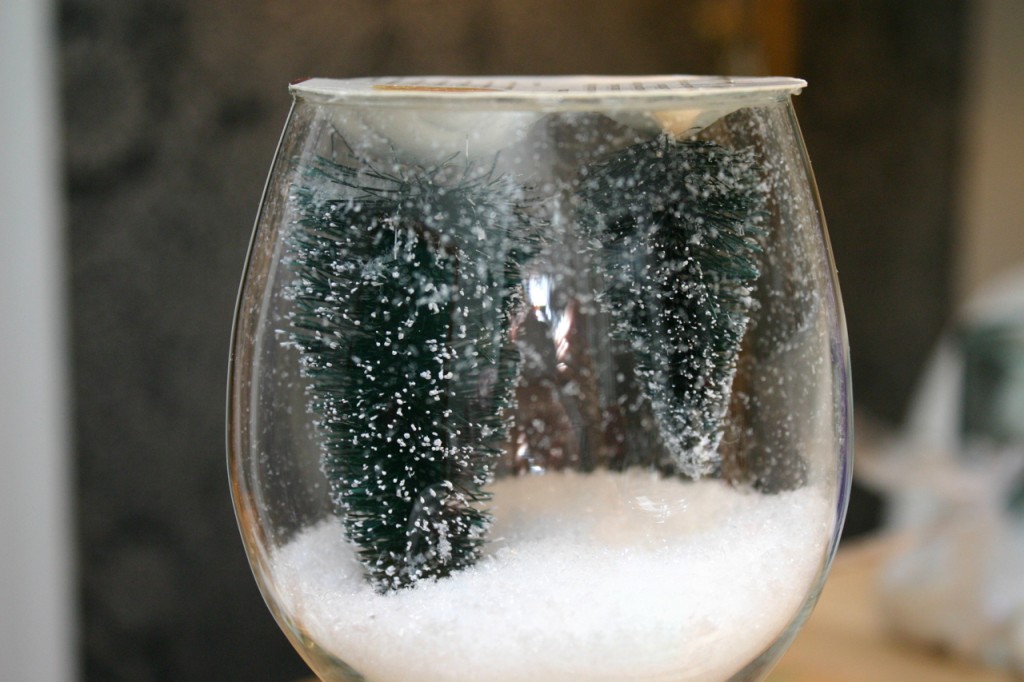
Using a hot glue gun, I attached my objects to the cardboard. I bought my trees and deer at Micheals, but you could use pinecones, old jewelry or even a photograph.
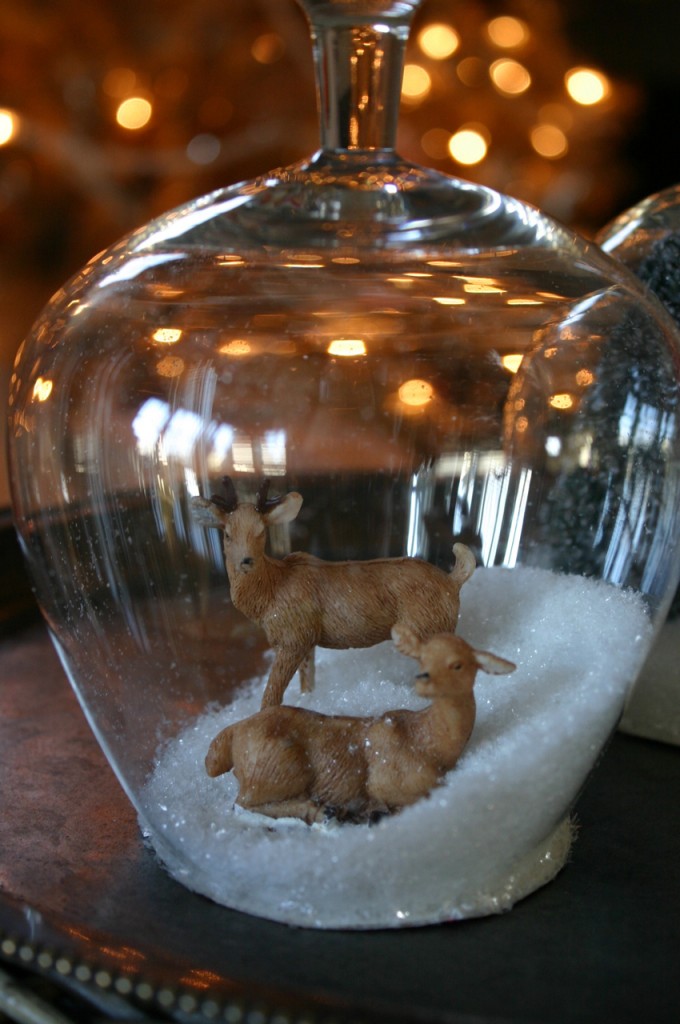
A sliver of the cardboard base will be poking out from the rim a bit - to cover this up, I painted it with white glue and dusted it with white glitter.


Bella
December 12, 2011 at 1:21 am
Oh my goodness! This is simply stunning! And it seems quite easy to make. The snow globes look amazing with the candles on top! Just lovely! 🙂
camilla
December 12, 2011 at 1:50 pm
Thanks Bella! They are SO easy to make – I was thinking they would make a nice teacher gift! Thanks for commenting, C
Dawn Sparks
December 12, 2011 at 1:38 pm
these are so neat!!
camilla
December 12, 2011 at 1:50 pm
Thanks Dawn! These are fun to make. Take Care, C
Michelle
December 12, 2011 at 3:41 pm
What a clever idea! And so pretty!
AJ Tarrant
December 13, 2011 at 3:00 am
Camilla,
Love the snow globe variation, especially with the candles.
You are right! Good gift idea for friends and neighbors.
Thanks,
AJ
Catlady
December 16, 2011 at 4:09 pm
Neat idea! And you can almost always find wine glasses and other stemmed glasses at thrift stores for less than a buck each!! (And for that matter, I don`t need to donate all of my packed-away never used glasses to them, now, either!)
Helga_Star
December 22, 2011 at 4:28 pm
About My God as it amazingly looks! Your comments on jewels. It really glamour! It will be a royal decor!
sheila
December 26, 2011 at 3:39 am
they are lovely and I am going to try then for next year.
Meltem Muganlı
December 29, 2011 at 4:20 pm
Super idea! So lovely. I must try.. Poor glass =(
pınar
December 30, 2011 at 5:14 pm
Many thanks for the excellent and very romantic share yours
Carol Bell
August 26, 2012 at 8:43 pm
I made these with xmas miniatures and wine glasses I had taking up space. Loved them!!! Thanks for the idea!
Pek çok şeyin deftercisi
October 14, 2012 at 8:34 am
really so creative , moreover it s a candlestick.Thanxx I wont wait the new year..
Jules2572
November 9, 2012 at 4:48 am
I am so in love with these!! MUST MAKE!! Ty for the idea!! 🙂
Jules2572
November 10, 2012 at 12:57 am
Made these tonight!! So in love with them. Dollar tree stemware baby!!!
wendy
November 12, 2012 at 3:02 pm
I am definitely going to try these, I have some glasses I can use. Too cool!
Giovanna Esteves
November 16, 2012 at 12:59 pm
nossa, fiquei encantada… vou fazer p ornamentar a mesa da ceia… lindooo..
Manuela
November 16, 2012 at 1:16 pm
Awesome.
virlene
November 16, 2012 at 2:48 pm
amei ,achei muito criativo, ficou lindo. parabéns
Rosana
November 16, 2012 at 4:43 pm
parabéns pela criatividade, ficaram lindos d+
Amanda
November 17, 2012 at 7:02 am
I really like this idea, and plan on making some.
Question: can you put water in the glasses after adding the fake snow or glitter, so when you turn the globes over, the snow drifts down, as in a traditional snow globe?
Thanks!
camilla
November 17, 2012 at 7:16 am
Hi Amanda – thanks for stopping by! I used cardboard to seal the base, so water would not work – but I have seen a tutorial at Martha Stewart Living.com for making traditional snow globes in jars – you could check that out. Take care, Camilla
Veronica
November 17, 2012 at 9:52 pm
I just wanted to say a big THANK YOU for these. I just made 8 of these with my 10 yr. old daughter. We found some fun animals and figurines at Hobby Lobby. We also used some small pinecones and sticks from outside. They turned out so cute and I think they are going to be a hit this christmas. I spent about $30 and now have 10 gifts. Thanks again for sharing! I just adore them!
heather
November 18, 2012 at 7:58 am
Wow! I made 2 of these last night and had a blast! Dollar Tree had lovely glasses so i grabbed them there…talk about a a frugal project, but wow, what an impressive one! The only thing I did differently was to add felt to the bottom on the cardboard (just used spray adhesive) and glittery pipe cleaners glued around the base. Thank you soooo much for such a great craft!!!!
tanya
November 19, 2012 at 5:12 pm
I am soo excited for this. I got the perfect glass from my local thrift shop for $0.75 and i seen that dollar tree had the little Christmas village characters I am soo making this.
Nikki
November 20, 2012 at 3:18 pm
OMG!! I LOVE this idea!! my daughter is crazy over snow glows and candle holders..how perfect is this?? and it will be a simple, easy thing for my grandkids to make for their momma’s!! thanks so much for this tutorial..many blessings from my family to yours 🙂
Maeghan
November 26, 2012 at 8:59 am
These are wonderful! I made a few of my own yesterday. I also put a thin red ribbon around the bottom to hide where the cardboard meets the glass 🙂
Barbara
November 28, 2012 at 12:44 am
What a lovely idea!!! I think i film try it immediately! A fun and cheap gift for Xmas!!!! Thanks!!!!!!
Dom
November 28, 2012 at 1:03 am
You did such a good job with these! They look great. 🙂
Repinned on pinterest. 🙂
Dom.
Craftedblog.com
Cindy
November 28, 2012 at 8:34 pm
My Mom had some of these that she made in the ’60’s:) I loved them:) She had modeling clay on the bottom of the stems and had taper candles stuck in them…thanks for sharing! My daughter and I will have to make these!
jean woods
November 29, 2012 at 3:15 am
Great project for next year, wish I had found it in time for this year.
steppeland
November 29, 2012 at 7:23 am
Great idea and beautifully done!
Mindy
November 30, 2012 at 5:29 pm
I made two of these with my daughters today. We found the glasses at the Dollar Tree as well as some figurines. It only cost us about $2 to make each one. Thank you so much for sharing this. We plan on making some for all of the kids music and Sunday school teachers! You’ve saved me a lot of money on a gift that doesn’t come across as cheap! It was so simple to make! Thank you, thank you, thank you!
vanessa
December 4, 2012 at 3:03 pm
I watch 2 kids in addition to my own 2 days a week & I am always looking for easy crafts they can do & take home. These would make great gifts to give their moms.
michelle
December 5, 2012 at 4:01 pm
OMG how cute and simple can not wait to do this for our christmas party this year…..awesome
Megan
December 6, 2012 at 8:17 pm
I was wondering, what brand of fake snow did you use and where did you find it? I am having a hard time finding it. Thanks!
camilla
December 6, 2012 at 9:06 pm
Hi Megan – I can’t remember the brand – but I bought it at Michaels – it was in a bag and it was fine. Be sure not to get the kind that looks like shredded plastic bags – it needs to be like the consistency of glitter. Hope this helps, Camilla
Bobbi
December 15, 2012 at 8:38 pm
Made these today with my daughter for teacher gifts. They came out great and we had fun!!
Fahima
January 21, 2013 at 6:44 pm
Love this as a gift idea. Just made it for my cousin and her husband’s new apartment. I used their wedding pics on two ring boxes for one glass. I used mini wooden letters of their initials for another, and a dollhouse frame for the third glass. Came out awesome!
rick yoon
February 28, 2013 at 2:54 am
It’s very nice and romantic.. ^^
Yolanda Crisostomo
March 10, 2013 at 12:07 am
Very Beautiful, Very Classy! I Love it! I’m making this!!! I shared it with our group members on CafeMom – Holiday and Party Crafts – with a link back to the tutorial here. Thanks so much for sharing your creative talent! ~Yolanda~
dizzy
March 19, 2013 at 7:45 pm
These would be very nice for any occassion. Great idea. I love it. I will be making some of these this weekend.
You can use birthday candles and disney characters for a childs birthday
dalva maria
April 3, 2013 at 2:28 pm
amei a idéia é lindo para dar de prasente.
TONI A.
May 21, 2013 at 3:01 pm
I just made one of these using a fairy, a wine goblet, and a few blueish toned glitter packets. The glitter covered the inside of the goblet and you can barely see the fairy, however, it is still cute. I’m not sure if I’ll do my last three fairies.
Dorothy
May 29, 2013 at 1:17 pm
What a beautiful idea; I’m so into the ocean- sand, shells, sand dollars, crabs, etc. I can’t wait to make this. The candle is the finishing touch.
Kyra
November 14, 2013 at 5:53 pm
This is gonna be a christmas present for my momma!
Deb
November 15, 2013 at 11:17 am
I soo love this – beautiful. Do you have to use a dripless candle? If not, how do you prevent the wax from being all over the glass? Thanks!!
Dianna
November 17, 2013 at 9:16 pm
These are so pretty & look easy to make! I love how you topped them with candles & have them grouped together! I think it would be a good way to use single stemmed glasses that were part of a set. Thank you for the great idea!
Maria
November 18, 2013 at 3:42 pm
Those look amazing. Thanks for the idea, thinking of using as Christmas centerpiece.
Asha Ram
November 19, 2013 at 8:26 am
Loved loved loved this one! Thanks for sharing 🙂
Troy Rush
November 21, 2013 at 2:50 pm
Just made them so easy and so nice! thank you!